TRANSFERRING YOUR ARTWORK
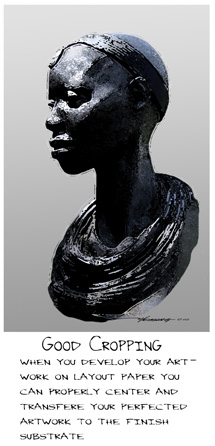
“No amount of shading, color, or detail will ever offset poor structure or poor cropping” … Me.
So here you are, about to draw a portrait, and with your reference photo and pencil in hand you find yourself starring at the photo that’s loaded with colors, values, lines and shades. Next, you look at your rather pricey, blank canvas, illustration board, 4 ply Bristol, colored specialty paper, prepared Masonite, scratchboard, or mounted watercolor paper. Then, like a bobble head, you look back and forth at the photo and your expensive pristine substrate. You take that deep breath, and go for it!
Your first bold gesture looks pretty good! OOPS! Everything is a little too far to the right … hmmmmm…. moving along fine, but now those first few gesture lines don’t seem to be erasing; maybe they can be hidden in the background treatment. As you start to define shapes and details, the art seems to be “growing” to the right side and it was already too close to that side! Maybe when it is cropped and framed it will look “balanced”. Getting near to the finishing stages, you look at your portrait in the mirror because you know that the reversed image will immediately show any anatomy or structure problems. “Shoulda checked that earlier”, you scold yourself, adding, “Now I gotta move this left eye over a little … and this whole darn picture is still growing too far to the right side!”
So goes the narrative of just about every artist that has ever held pencil to paper. The short answer to every problem mentioned above is to use the “transfer method”. Simply do all your rough gestures and structure developments on thin white layout paper (the thinner the better). When you are happy with the rough simply place a sheet of transfer paper between your rough and substrate or coat the back of your rough with graphite or pastel. Then center that rough drawing and transfer it onto your expensive finished substrate by simply drawing over your perfected rough drawing.
The wonderful result of this method will be no more wing tips, antlers, feet or hairdos that “grew” out of crop. No more ghost eraser lines in the background or finished portraits that have a little something wrong in the anatomy or are cropped too far to either side.

 Every possibility for error gets handled in the rough drawing stage and you can be as detailed as you want or need to be. Often in a portrait, you will find that the likeness is in the details. Always remember that you usually do not transfer details so when transferring a portrait rough, don’t be upset if your drawing has lost a little of the “likeness” which can easily be recovered.
Over my almost 40 years of teaching art and anatomy (often to degreed and accomplished artists), I am amazed at how few knew to do a rough drawing and then transfer their perfected art to a finished substrate. Even the rough drawing can be “over-laid” on a light table with a fresh sheet of layout paper and trace only the best of the rough. These are called “over-lays” and this method will keep even your roughs clean and professional looking. With each overlay your rough will improve. I have easily done four or five overlays when developing a likeness for a portrait.
There are probably a hundred ways to transfer art, but here are just a few.
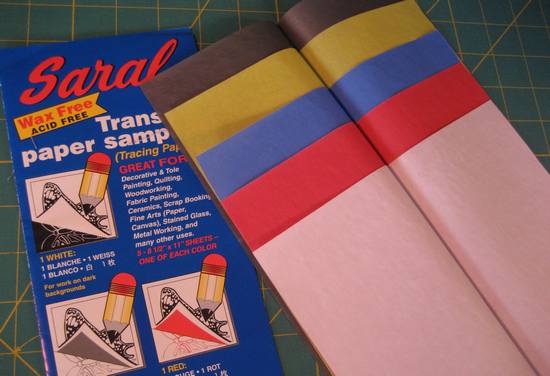
The easiest way to transfer to watercolor paper is simply to tape your rough on a window or light table and lightly trace onto your finished paper. There are commercial transfer sheets that come in colors and graphite. You can also make a graphite sheet by coating a sheet of thin tracing paper with a graphite stick. I have found that one easy way to prepare a rough for transfer is to hold it up to the light and on the back side, with a pastel stick, draw a circle around just your artwork then lay it down and fill in the circle with an appropriate color of pastel. That way you are not getting pastel dust all over what will be a clean background. I also blow off the excess pastel dust and/or slightly wipe it with a paper towel before starting the transfer.
One or two cautions when transferring:
1. Make sure you tape your rough securely to the top of your finished substrate as you will often need to lift your rough to see how the transfer is going. To lessen the aggressiveness, I always pat the tape against my shirt or pants. You definitely do not want the tape lifting the often delicate surface of your finished paper.
2. When you are tracing over your rough and thereby transferring the line to your finished surface, don’t press too hard as you will dent or score the finished paper. A scored transferred line is a little difficult to hide. So when you trace your first line, carefully lift the rough (that should be taped only at the top) and check to see if you are using enough pressure to transfer the line while not scoring the finished paper.
3. Always check and re-check that you have transferred every important line before you lift the tape and the rough from your finished substrate as it is a little tricky to try to re-register should you need to go back to the transfer stage.
TIP: When transferring, I like to to use a ball point pen. The ball point glides easily over the rough drawing and will also leave a colored line showing you what lines have been transferred.